최종 프로젝트 웹 ui이를 만들면서 모바일에선 없던 페이지네이션 기능이 생겼다. 좋아요 버튼부터 페이지네이션 기능까지 한번도 구현해보지 못했던 기능인데 이번 최종 프로젝트 때 뭔가 해보고싶었던 기능들은 다 해보는 것 같다.
[React] Pagination 구현하기
프로젝트를 하면서 Pagination이 필요해 구현해 보기로 했다. 찾아보니 라이브러리도 여러 개 있던데 머리도 쓸 겸 그냥 직접 구현해 보기로 했다. Pagination의 동작 구조 전반적인 동작 구조는 네이
imdaxsz.tistory.com
[리액트] Tanstack Query 쿼리취소, 페이지네이션, 무한스크롤
1. Query Cancellation대용량 fetching을 중간에 취소하거나 사용하지 않는 컴포넌트에서 fetching이 진행 중이면 자동으로 취소시켜 불필요한 네트워크 비용을 줄일 수 있다queryFn 의 매개변수로 Abort Signal
ejunyang.tistory.com
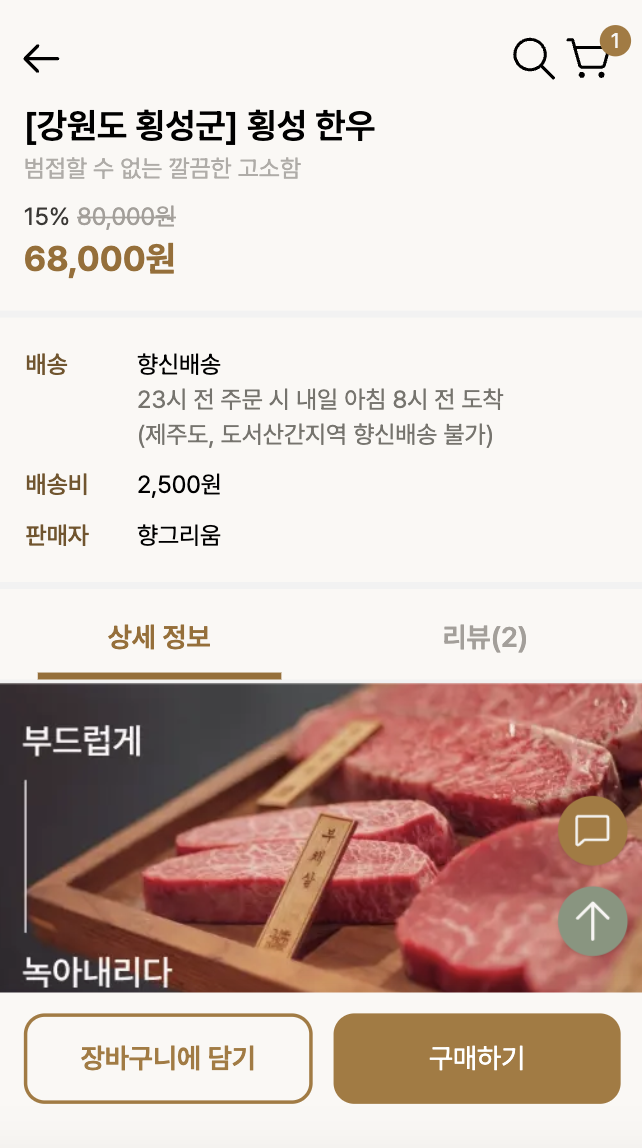
해당 상품의 리뷰 데이터 가져오기
DB는 supabase를 사용하고 있다. 우선 각 상품의 리뷰데이터를 가져온다. 특산물 디테일 페이지는 url에 특산물 id값으로 가져온다. searchParams는 URL 객체의 속성으로, URL에 포함된 쿼리 문자열을 쉽게 다룰 수 있게 해주는 API이다.
만약 아래와 같은 코드라면 searchParams url의 값을 쉽게 가져올 수 있다.
const url = new URL('https://example.com?product_id=123&page=2');
const { searchParams } = url;

const productId = searchParams.get('product_id'); // '123'

const page = Number(searchParams.get('page')); // 2
요청된 데이터의 URL에서 쿼리 파라미터를 가져온다. supabase에서 range라는 범위 속성을 제공해준다.
(page - 1) * limit, page * limit - 1) 는 만약 페이지가 2, 리밋이 10일 경우 (2-1) * 10 = 시작 인덱스, 2 * 10 - 1 = 끝 인덱스 이렇게 한다면 시작 인덱스는 10, 끝 인덱스는 19가 된다. 하나의 페이지마다 10개의 데이터를 보여주는 것!
`/api/review?product_id=${productId}&page=${page}&limit=${limit}` //요청 url

const { searchParams } = new URL(request.url); //상대 경로는 URL 객체에서 직접 설정
const productId = searchParams.get('product_id'); // 쿼리 파라미터에서 product_id 가져오기
const page = Number(searchParams.get('page')) || 1; // 페이지 번호
const limit = Number(searchParams.get('product_id')) || 10; // 리뷰 10개씩
const { data: reviewData, error: reviewError } = await supabase
.from('reviews')
.select('*,users(avatar, name)')
.eq('product_id', productId)
.order('created_at', { ascending: false })
.range((page - 1) * limit, page * limit - 1); // 페이지네이션
if (reviewError) {
return NextResponse.json({ error: reviewError.message }, { status: 400 });
}URL: searchParams property - Web APIs | MDN
The searchParams read-only property of the URL interface returns a URLSearchParams object allowing access to the GET decoded query arguments contained in the URL.
developer.mozilla.org
총 리뷰 데이터 가져오기
페이지네이션을 구현할 때 총 리뷰 개수를 알아야 전체 페이지 수를 계산할 수 있다. 사용자 경험으로 보았을 땐 사용자가 특정 페이지를 선택했을 때, 그 페이지가 유효한지 확인할 수 있다. 만약 총 데이터 수가 25개이고 페이지당 리밋이 10개라면 2.5페이지가 나와야하는데 이때 Math.ceil() 사용해 정수로 바꿔주면서 3페이지로 올림처리한다.
const { count: totalReviews, error: countError } = await supabase
      .from('reviews')
      .select('*', { count: 'exact' }) // 총 행 수 계산 => 반환, count 속성에 총 리뷰 수
      .eq('product_id', productId);

    if (countError) {
      return NextResponse.json({ error: countError.message }, { status: 400 });
    }

    const totalPages = Math.ceil((totalReviews || 0) / limit); // 총 페이지 수 계산
응답 값

데이터 패칭
쿼리키에 데이터를 저장해줬다. fetch를 사용해서 API엔드포인트에 GET요청을 보내고, 응답을 JSON으로 변환해서 반환해준다. 여기서 productId는 리뷰를 가져올 특정 상품의 id이다.
  const [currentPage, setCurrentPage] = useState(1);
  const limit = 10;

  const fetchReview = async (page: number) => {
    const response = await fetch(
      `/api/review?product_id=${productId}&page=${page}&limit=${limit}`
    );
    const data = await response.json();
    return data;
  };

  const {
    data: reviewData,
    error,
    isPending
  } = useQuery<ReviewDataType>({
    queryKey: ['reviews', productId, currentPage],
    queryFn: () => fetchReview(currentPage)
  });
사용자가 페이지를 변경하면 setCurrentPage를 호출해 currentPage를 업데이트 해준다 현재 페이지가 업데이트되면 useQuery가 다시 실행되고 fetchReview를 통해 새로운 데이터를 가져온다.
  const handlePageChange = (page: number) => {
    setCurrentPage(page);
  };
페이지네이션 UI
페이지네이션 ui는 shadcn을 사용했다. shadcn은 쓰면 쓸수록 좋은 것 같다. 간단하고 예쁘고..~
PaginationPrevious는 현재 페이지가 1보다 클때 이전 페이지로 이동할 수 있다.
PaginationNext는 리뷰 총 페이지보다 작을 때 다음 페이지로 이동할 수 있다.
Array.from은 reviewData.totalPages 만큼 배열을 생성한다. 현재 총 페이지는 2페이지이다. onClick={() => handlePageChange(index + 1)} 클릭한 페이지 번호를 인자로 받아서 현재 페이지를 변경한다. isActive={currentPage === index + 1} 현재 페이지와 클릭한 페이지 번호가 일치하면 active한 상태를 보여준다.
  <Pagination>
        <PaginationContent>
          <PaginationItem>
            <PaginationLink onClick={() => handlePageChange(currentPage - 1)}>
              <button className="flex items-center gap-[6px] text-label-assistive text-[15px]">
                <RiArrowLeftDoubleFill />
                처음
              </button>
            </PaginationLink>
          </PaginationItem>
          <PaginationItem>
            <PaginationPrevious
              onClick={() =>
                currentPage > 1 && handlePageChange(currentPage - 1)
              }
            />
          </PaginationItem>
          {Array.from({ length: reviewData.totalPages }, (_, index) => (
            <PaginationItem key={index + 1}>
              <PaginationLink
                href="#"
                onClick={() => handlePageChange(index + 1)}
                isActive={currentPage === index + 1}
              >
                {index + 1}
              </PaginationLink>
            </PaginationItem>
          ))}
          <PaginationItem>
            <PaginationNext
              onClick={() =>
                currentPage < reviewData.totalPages &&
                handlePageChange(currentPage + 1)
              }
            />
          </PaginationItem>
          <PaginationItem>
            <PaginationLink
              onClick={() => handlePageChange(reviewData.totalPages)}
            >
              <button className="flex items-center gap-[6px] text-label-assistive text-[15px]">
                마지막
                <RiArrowRightDoubleFill />
              </button>
            </PaginationLink>
          </PaginationItem>
        </PaginationContent>
      </Pagination>
Pagination
Pagination with page navigation, next and previous links.
ui.shadcn.com

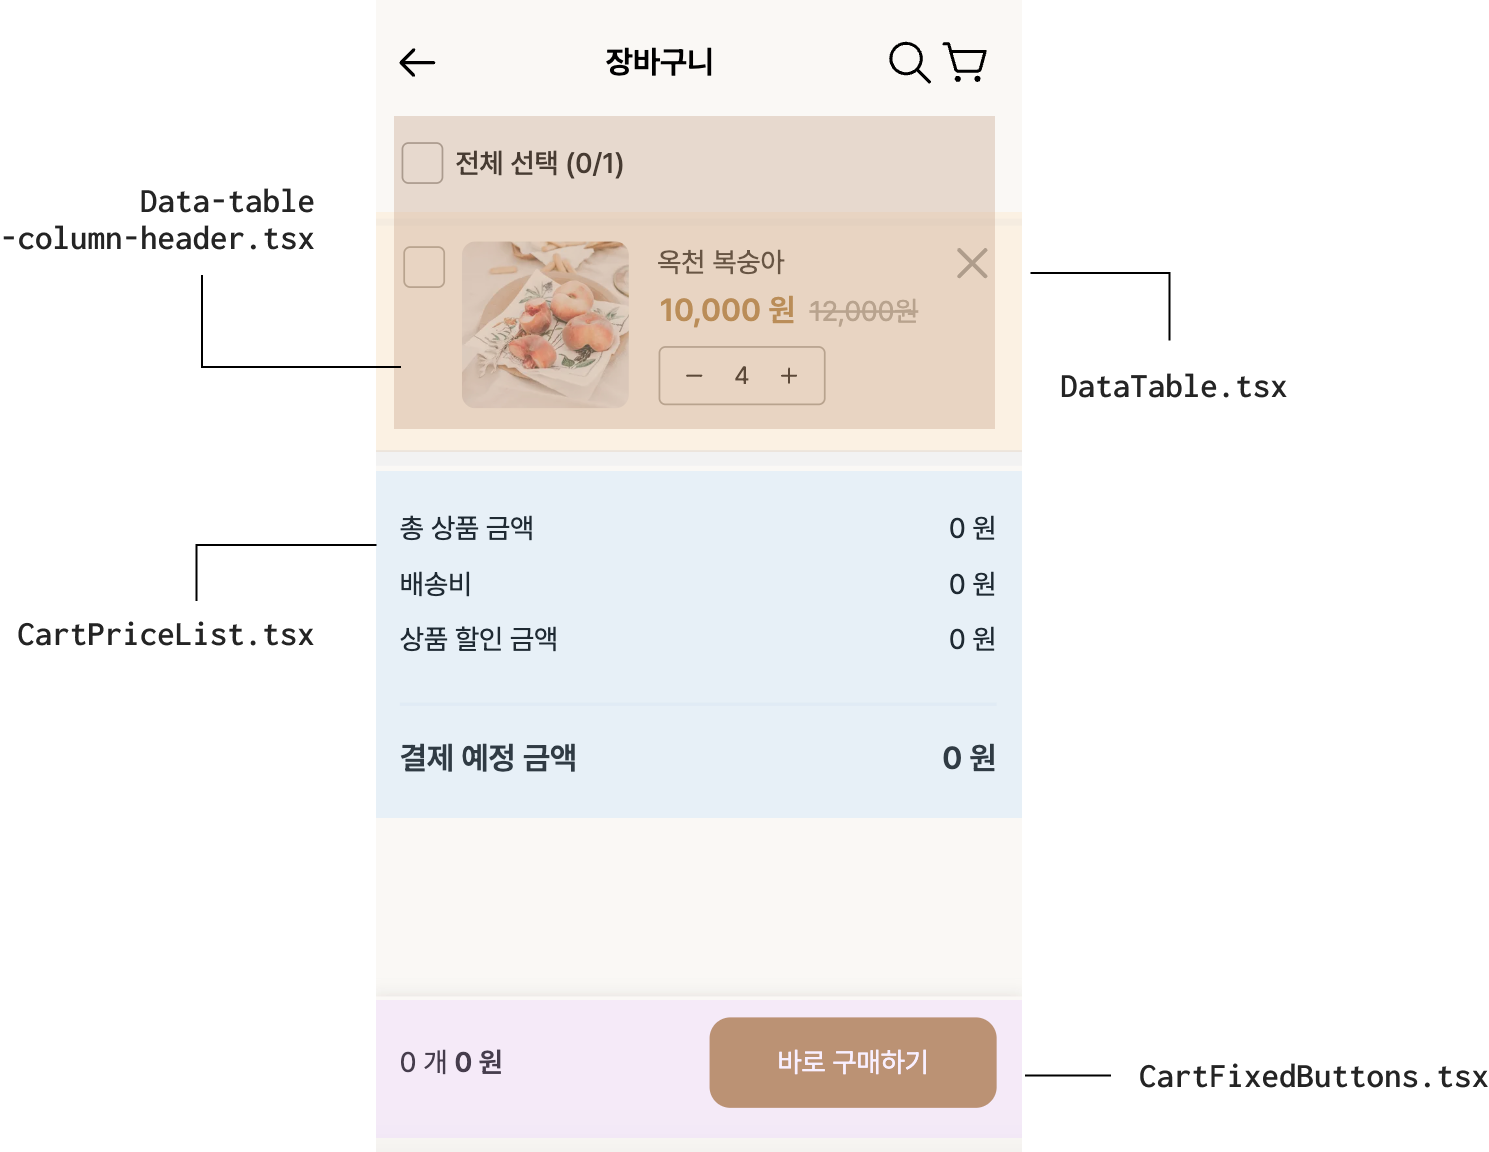
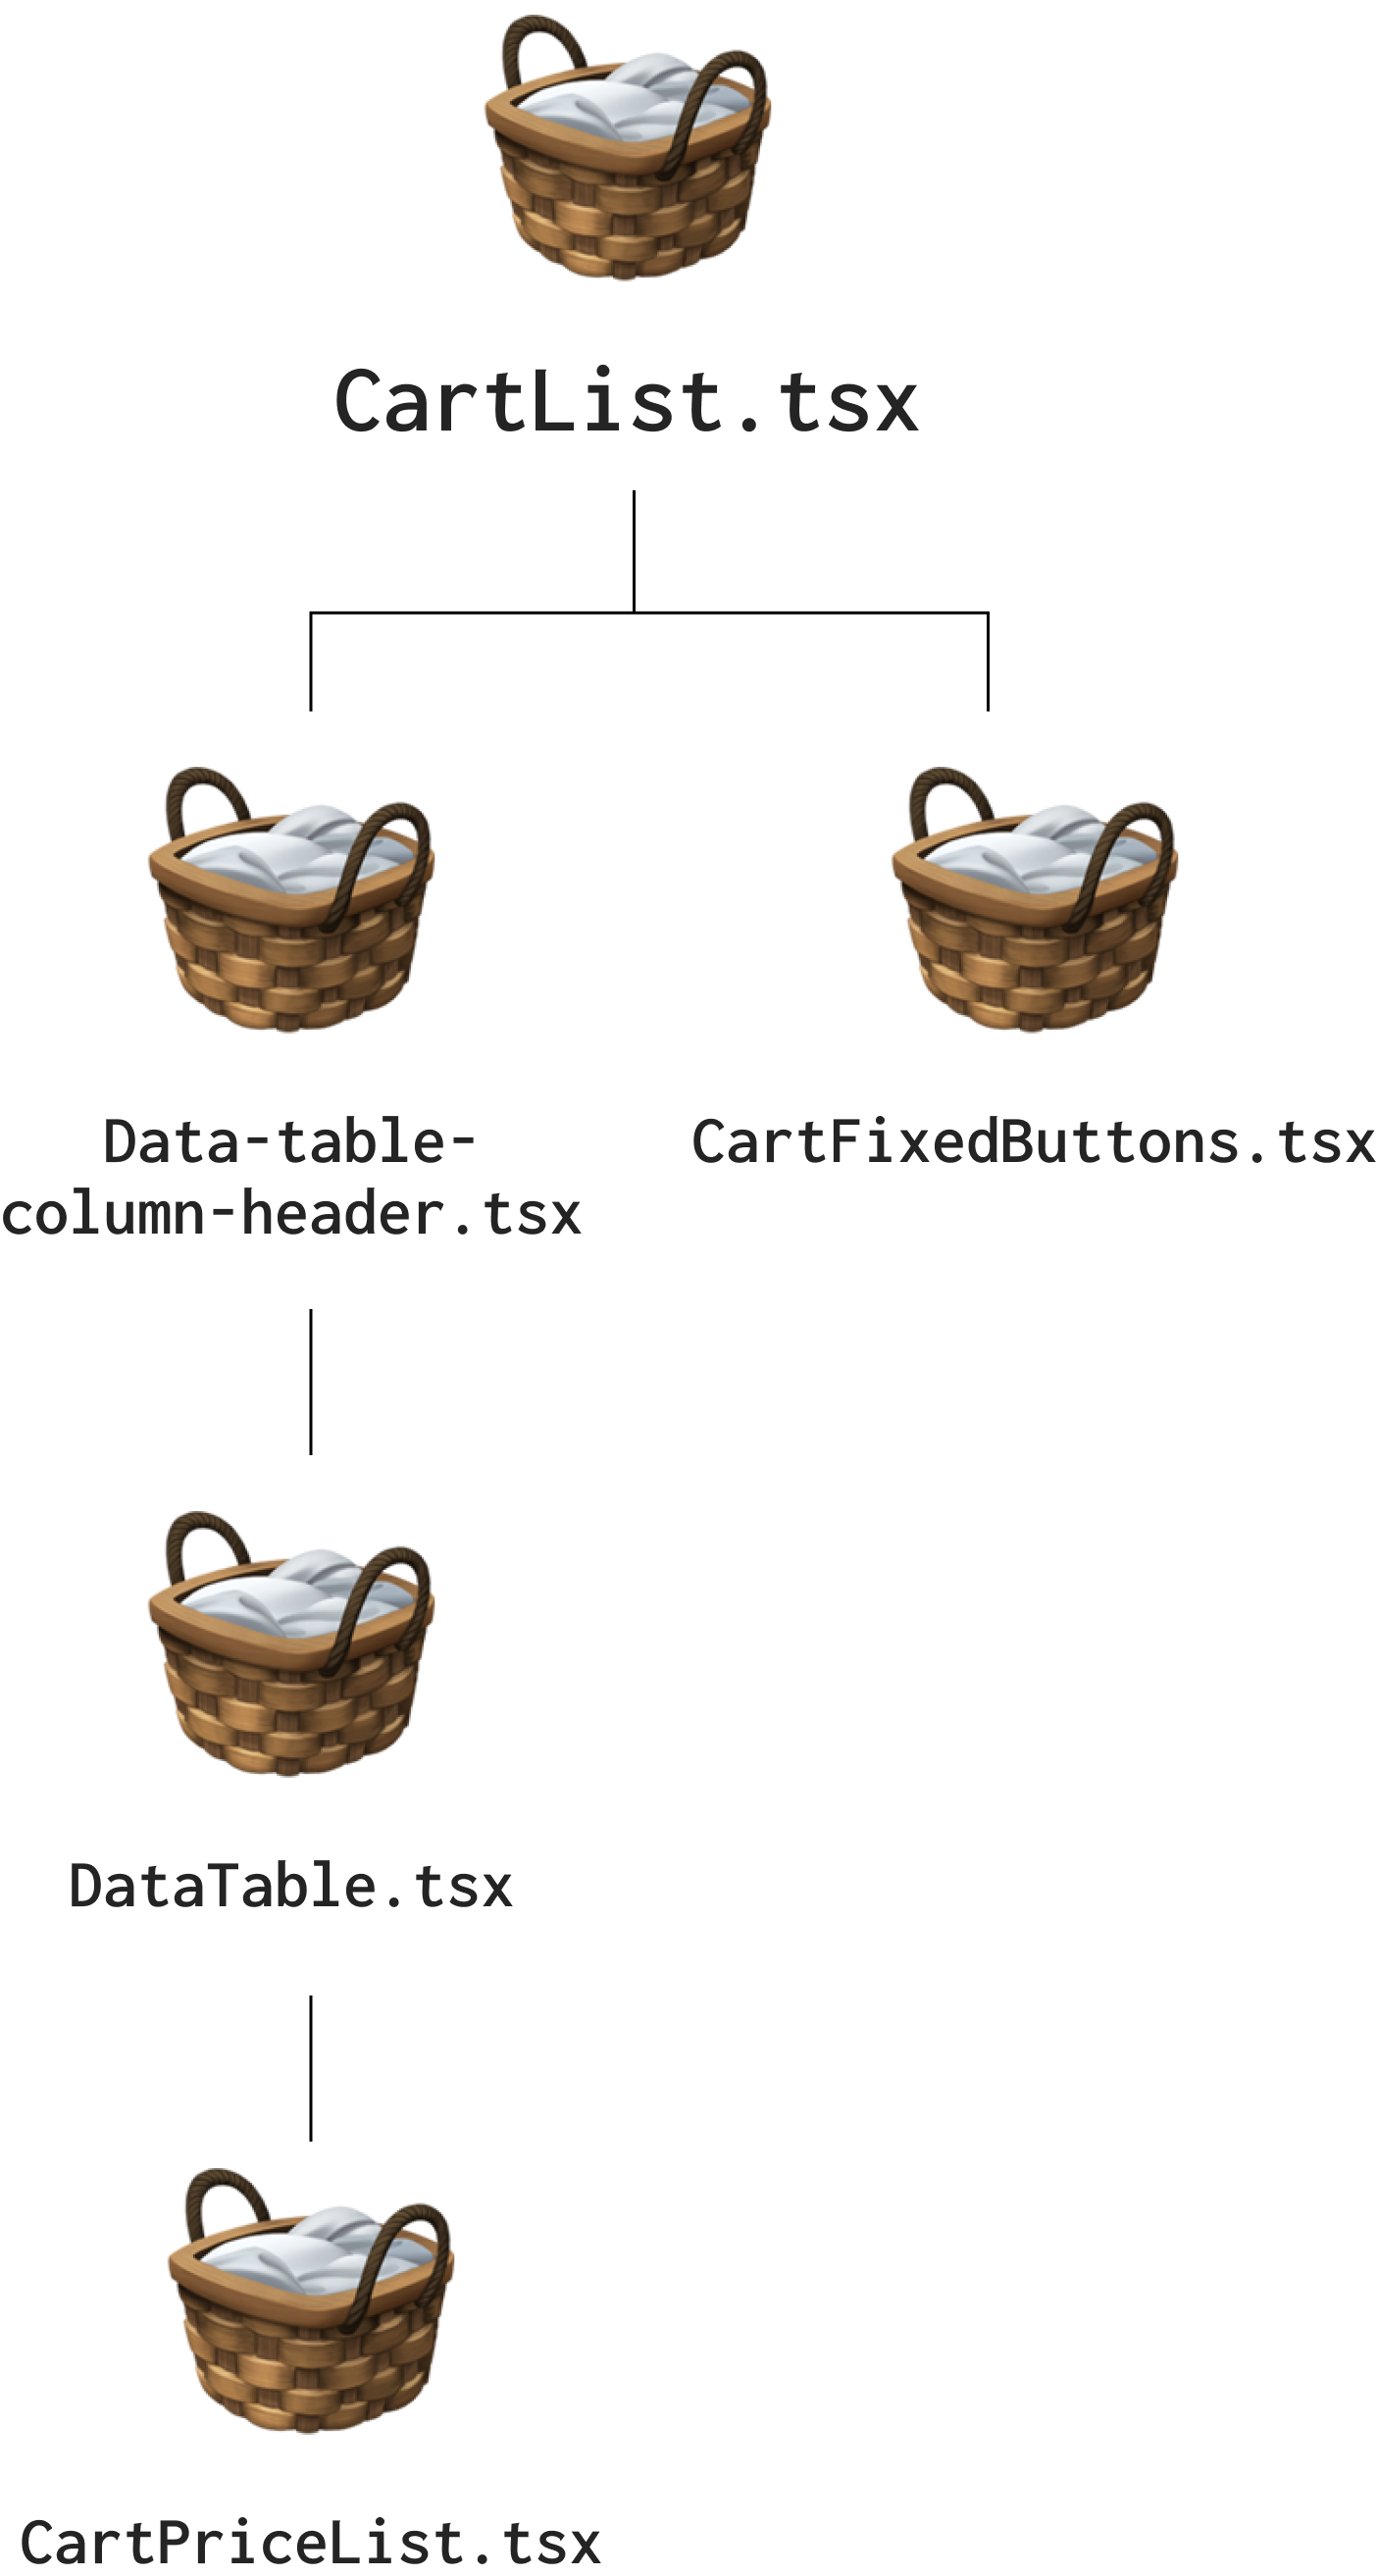
완성
페이지 버튼을 눌렀을 때 스크롤이 다시 위로 올라간다. 리뷰 콘텐츠 부분만 변경되게 하고싶은데.. 이 부분은 추후 수정해야겠다.
'프로젝트' 카테고리의 다른 글
| [프로젝트] 선택삭제 forEach ? map ? (0) | 2024.08.09 |
|---|---|
| [프로젝트] supabase 여러 테이블 데이터 한번에 가져오기 (0) | 2024.08.08 |
| [프로젝트] Next.js로 장바구니 구현하기 - (5) (0) | 2024.08.05 |
| [프로젝트] Next.js에서 Swiper 적용하기 (0) | 2024.07.31 |
| [프로젝트] Next.js 장바구니 구현하기 - (4) (0) | 2024.07.30 |